MegaQuadcopter
DIY 5” Quadcopter
A custom quadcopter I started back in highschool and only got around the finishing durng the pandemic. It boasts a 5” frame with 2204 motors, can take 3S or 4S and has FPV capabilities. It weighs in at about 500g.
Software:
- Betaflight
Purpose
I was inspired by videos online of people flying around their drones with a First Person View, where an onboard camera would transmit a live video feed to the user’s headset display. Looking into prebuilt systems, I found that most were out of my pricerange as a teenager with a part time job, so I opted to build one out of various parts I found online.
October 2017: Specification research
Though the initial interest came to me much earlier, I decided to start it a few months later into the year
https://github.com/ViktorVektor/MegaQuadcopter/blob/main/old%20notes.JPG
I started out by finding the cheapest parts I could find on a popular hobbyist website and configured by drone from there. I knew I wanted a somewhat stable experience, so a bigger drone was desireable. Smaller drones were typically harder to work with and often more expensive at the time. I also did not have other equipment like a transmitter and a display which added to the cost of the project.
February 2018: Construction
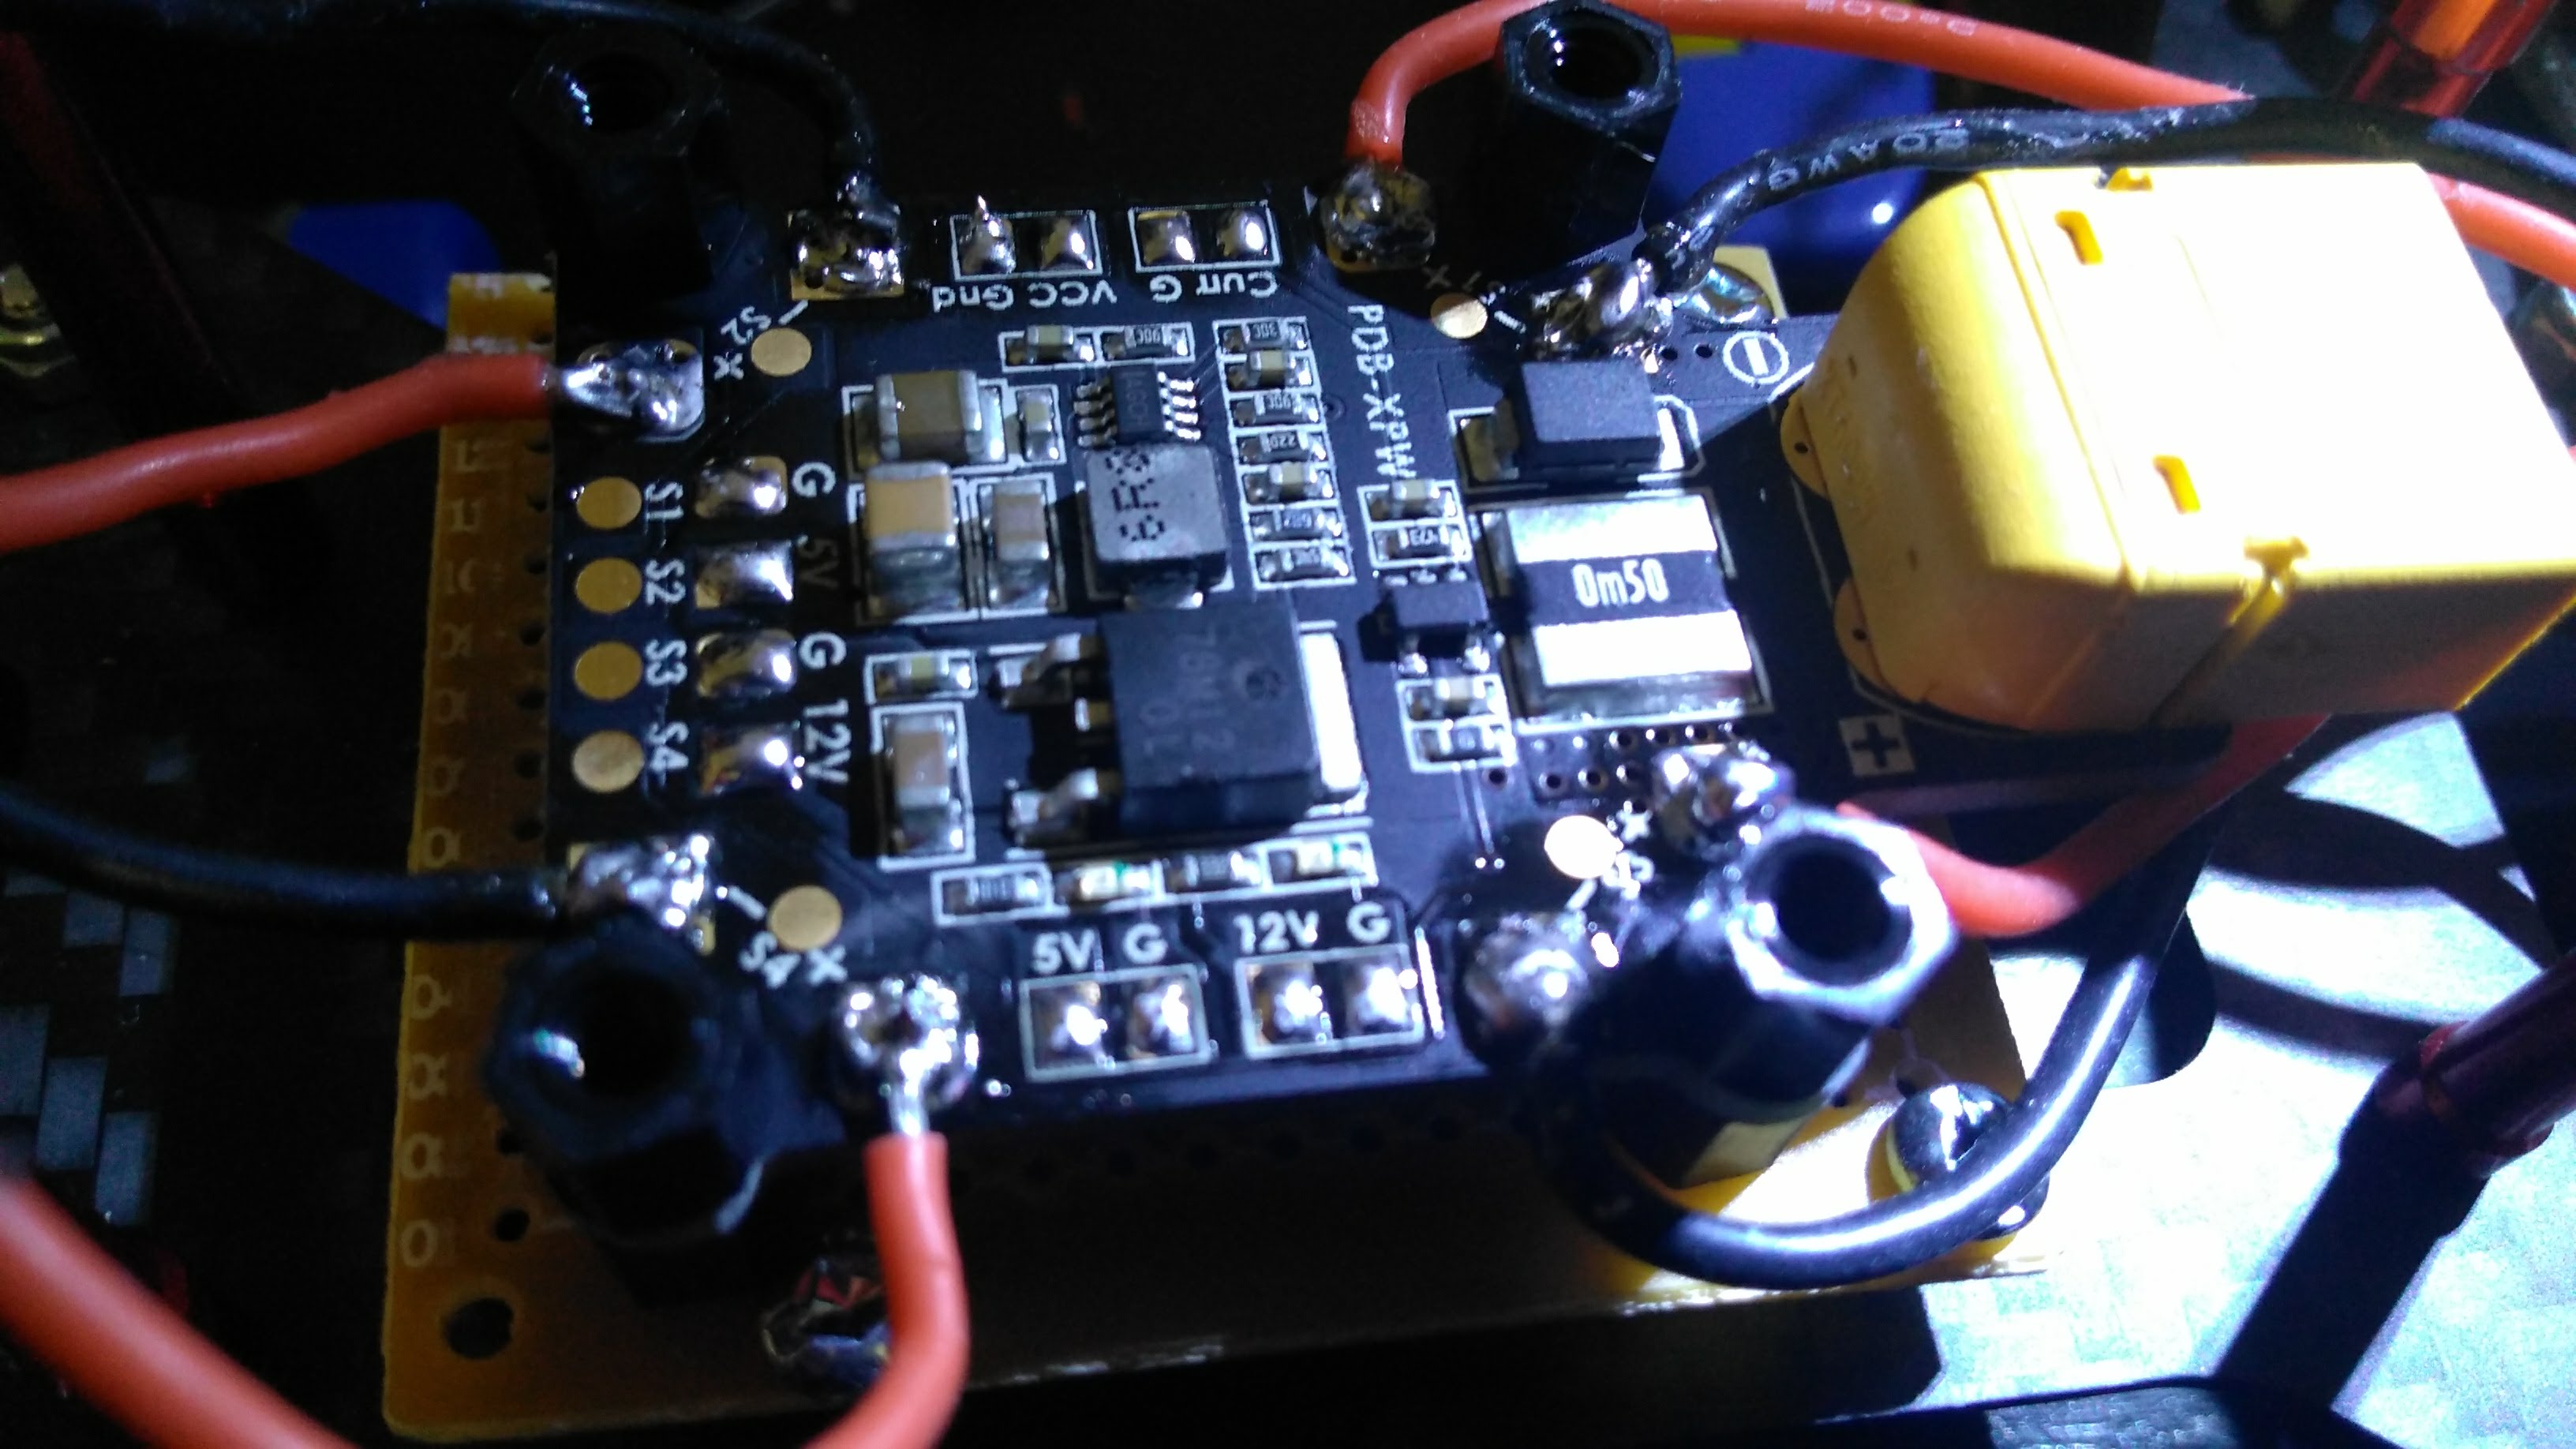
This is a photo of the Power Distribution Board (PDB) being soldered. Up to this point, I had limited experience in soldering so this project was a good way for my to build up my skills. In the photo, a perforated board can be seen underneath the PDB. This was due to the carbon fiber frame having a different mounting profile as the PDB and Flight Controller I would be using, an oversight on my part. A solution (although one I thought would be temporary at the time) I found was to have an adapter plate between the two components.
When testing it however, the device seemed to not work even after checking that all necessary connections were in place. This project would then be put on hold for a while.
March 2021
Having gained more experience through school and other projects, I decided to revisit the drone that had been on hold for a while. When going through my old parts, I found that the problem that occured last time was that the Flight Controller had been shorted somehow. It was possibly during one of my testing steps where I shorted it, nevertheless I ordered a new controller. This time, it was a 2-in-1 FC, meaning that it was both a PDB and an FC. I had also ordered additional batteries, a smaller and more compatible camera, and new ESC’s.
https://www.amazon.ca/gp/product/B07CVCKHQ8/ref=ppx_yo_dt_b_asin_title_o00_s00?ie=UTF8&psc=1
https://www.aliexpress.com/item/1005001274638034.html?spm=a2g0s.9042311.0.0.2a8d4c4dc7XAuy
https://www.aliexpress.com/item/1005001270601236.html?spm=a2g0s.9042311.0.0.2a8d4c4dc7XAuy
https://www.aliexpress.com/item/1005001413989550.html?spm=a2g0s.9042311.0.0.2a8d4c4dc7XAuy
During this time, I had also been trying out numerous Flight Simulators. I eventually settled on Liftoff.
Legality of Drones in Canada
Due to recent laws in between the time I started building it and now, there have been a number of Federal, Provincial, and Municipal laws regarding the usage of drones in Canada. To start with, there was now a weight classification for drones, where having one over 250g would require me to obtain a license and regestration before flying. I would also have to keep maintenance and flight logs of the drone, as well as report on the state of the environment when flying. Obtaining a license wasn’t too difficult, costing me a Saturday afternoon from knowing nothing to obtaining one. More info can be found on Transport Canada’s website.
Re-working the drone
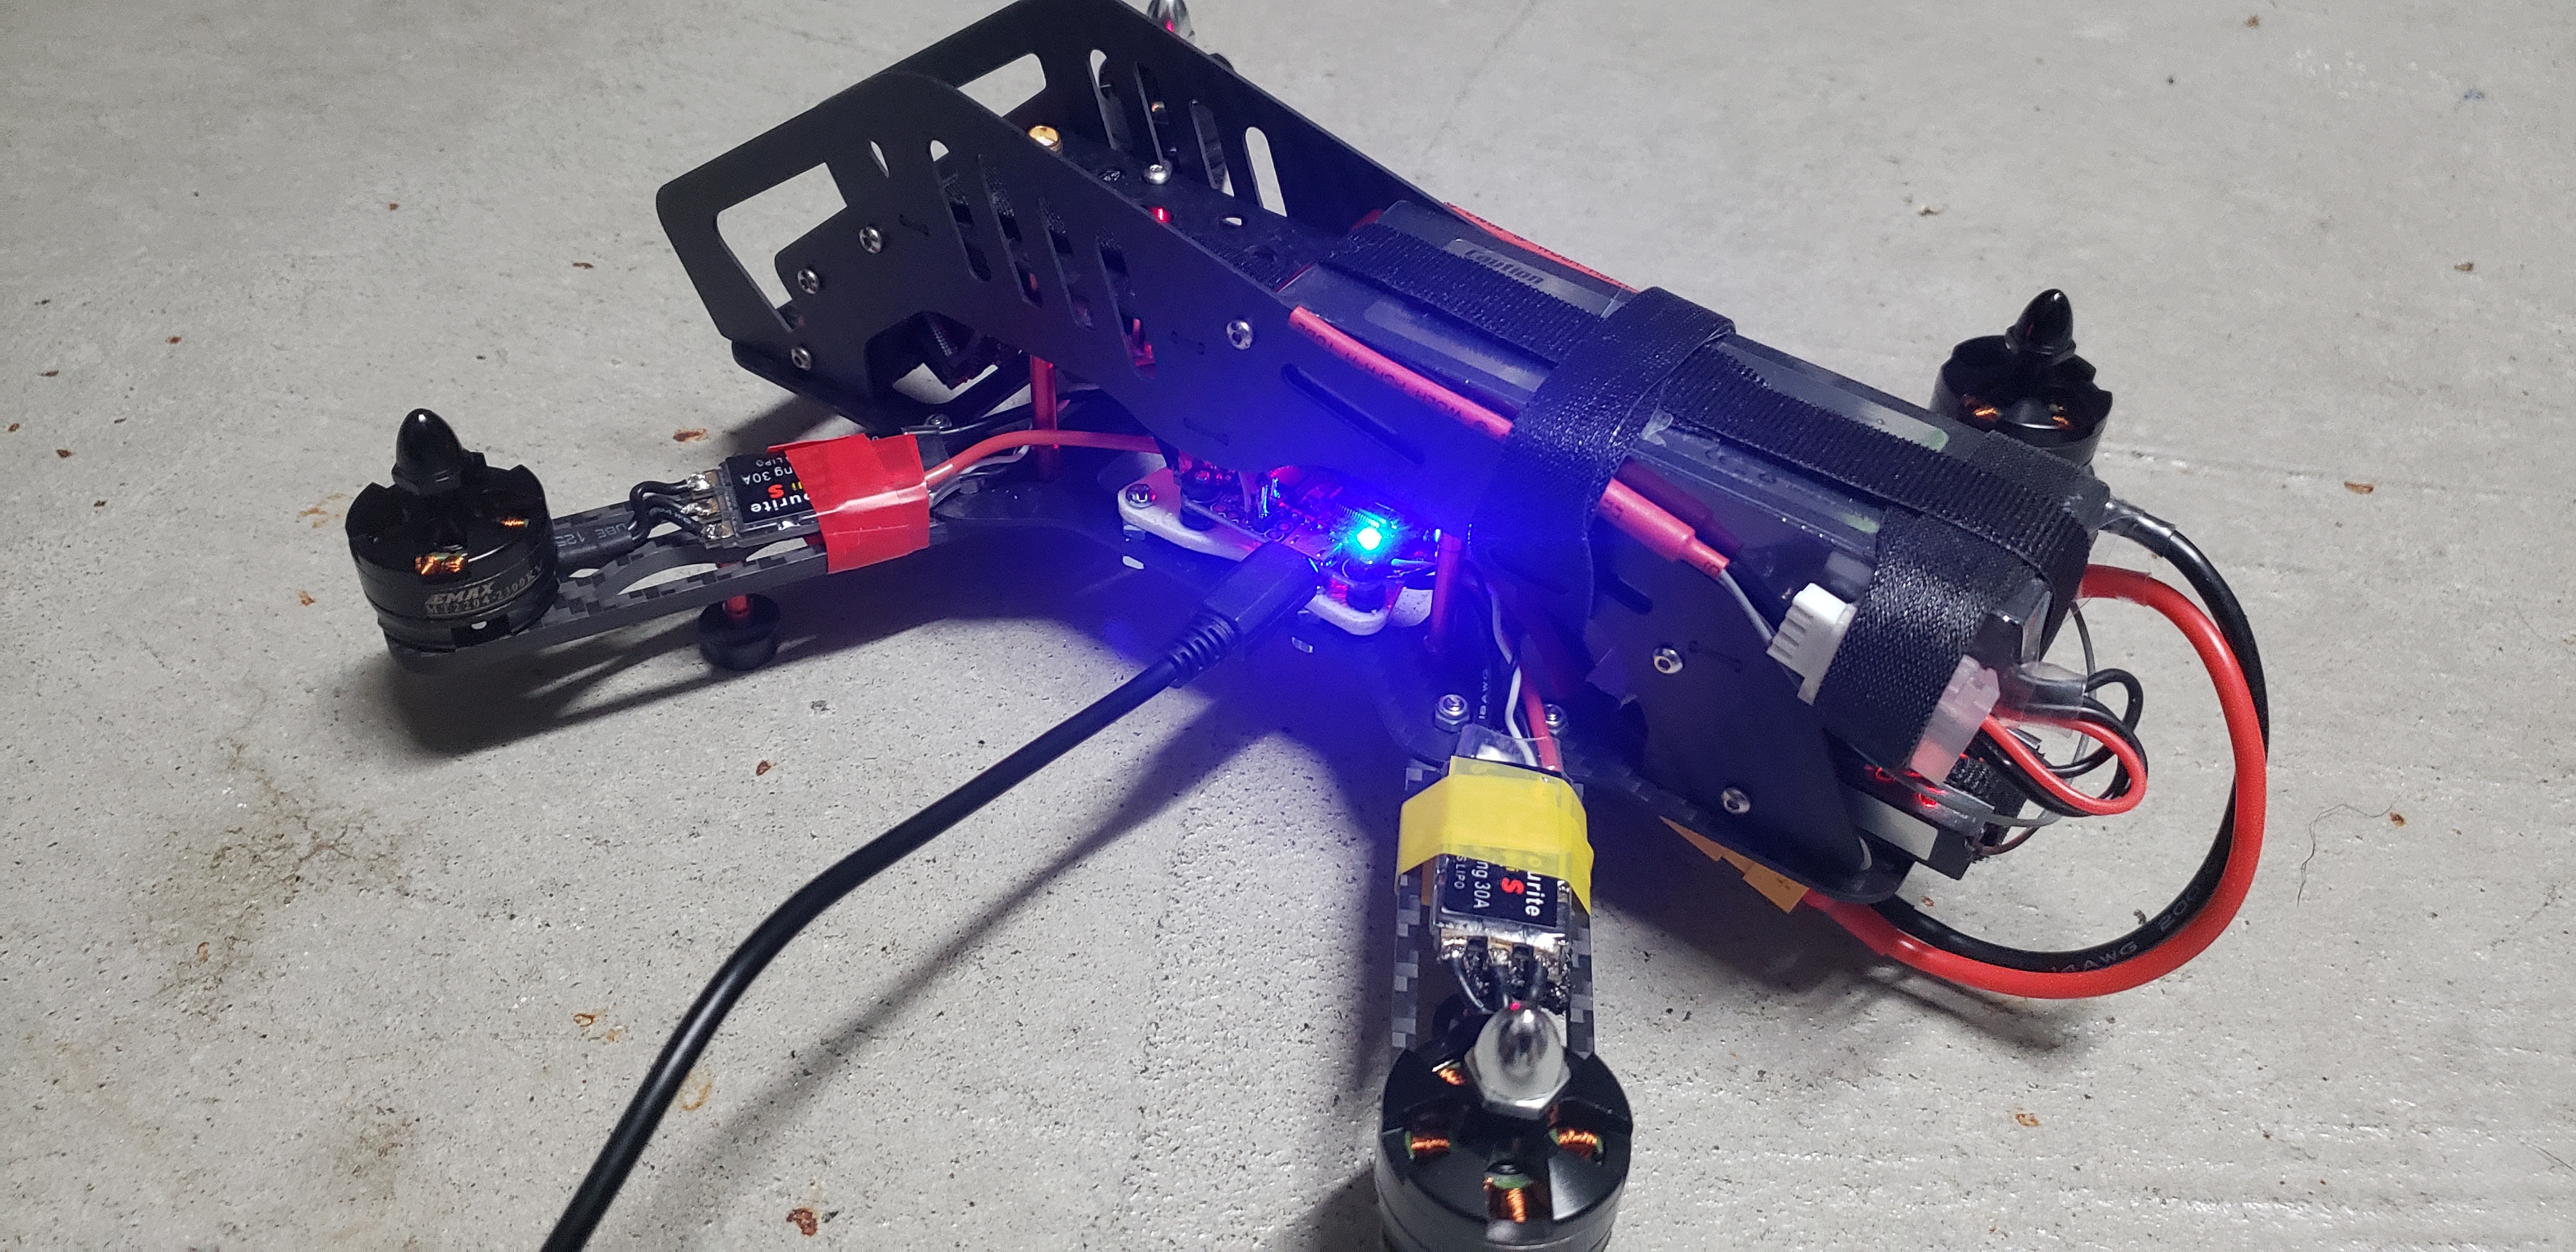
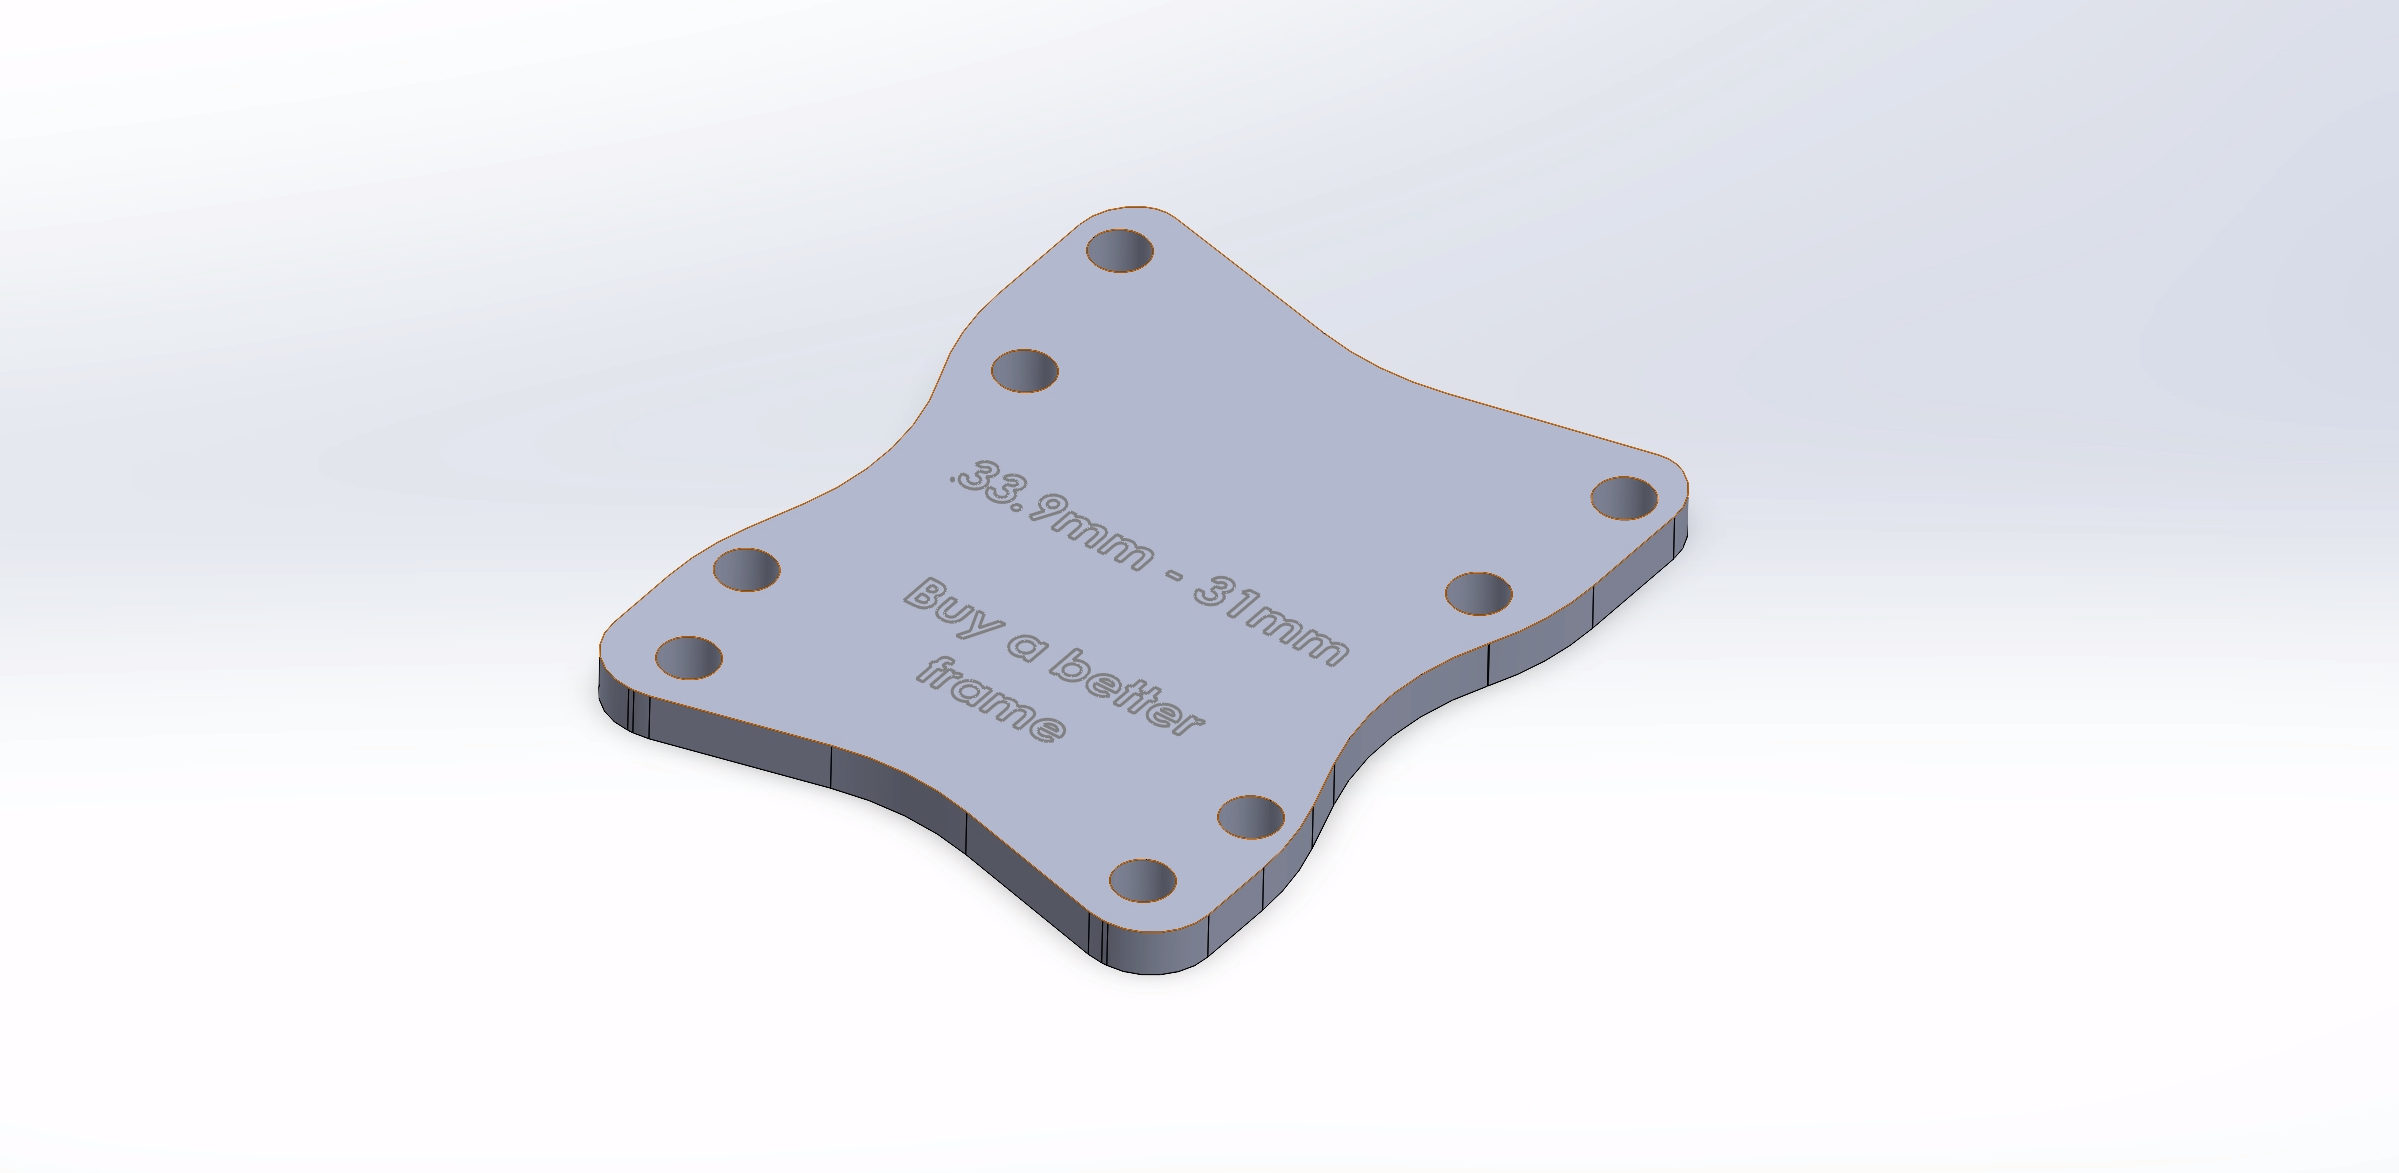
I decided to rework the soldering job and cable management I had done on the previous drone to make it more robust. This should avoid the shorting issue I encountered with the first iteration. For the mounting profile mismatch, the frame itself was had a non-standard profile so not many (cheap) 2-in-1 FC’s supported it, so I opted to upgrade the perforated board to a 3D printed adapter instead.
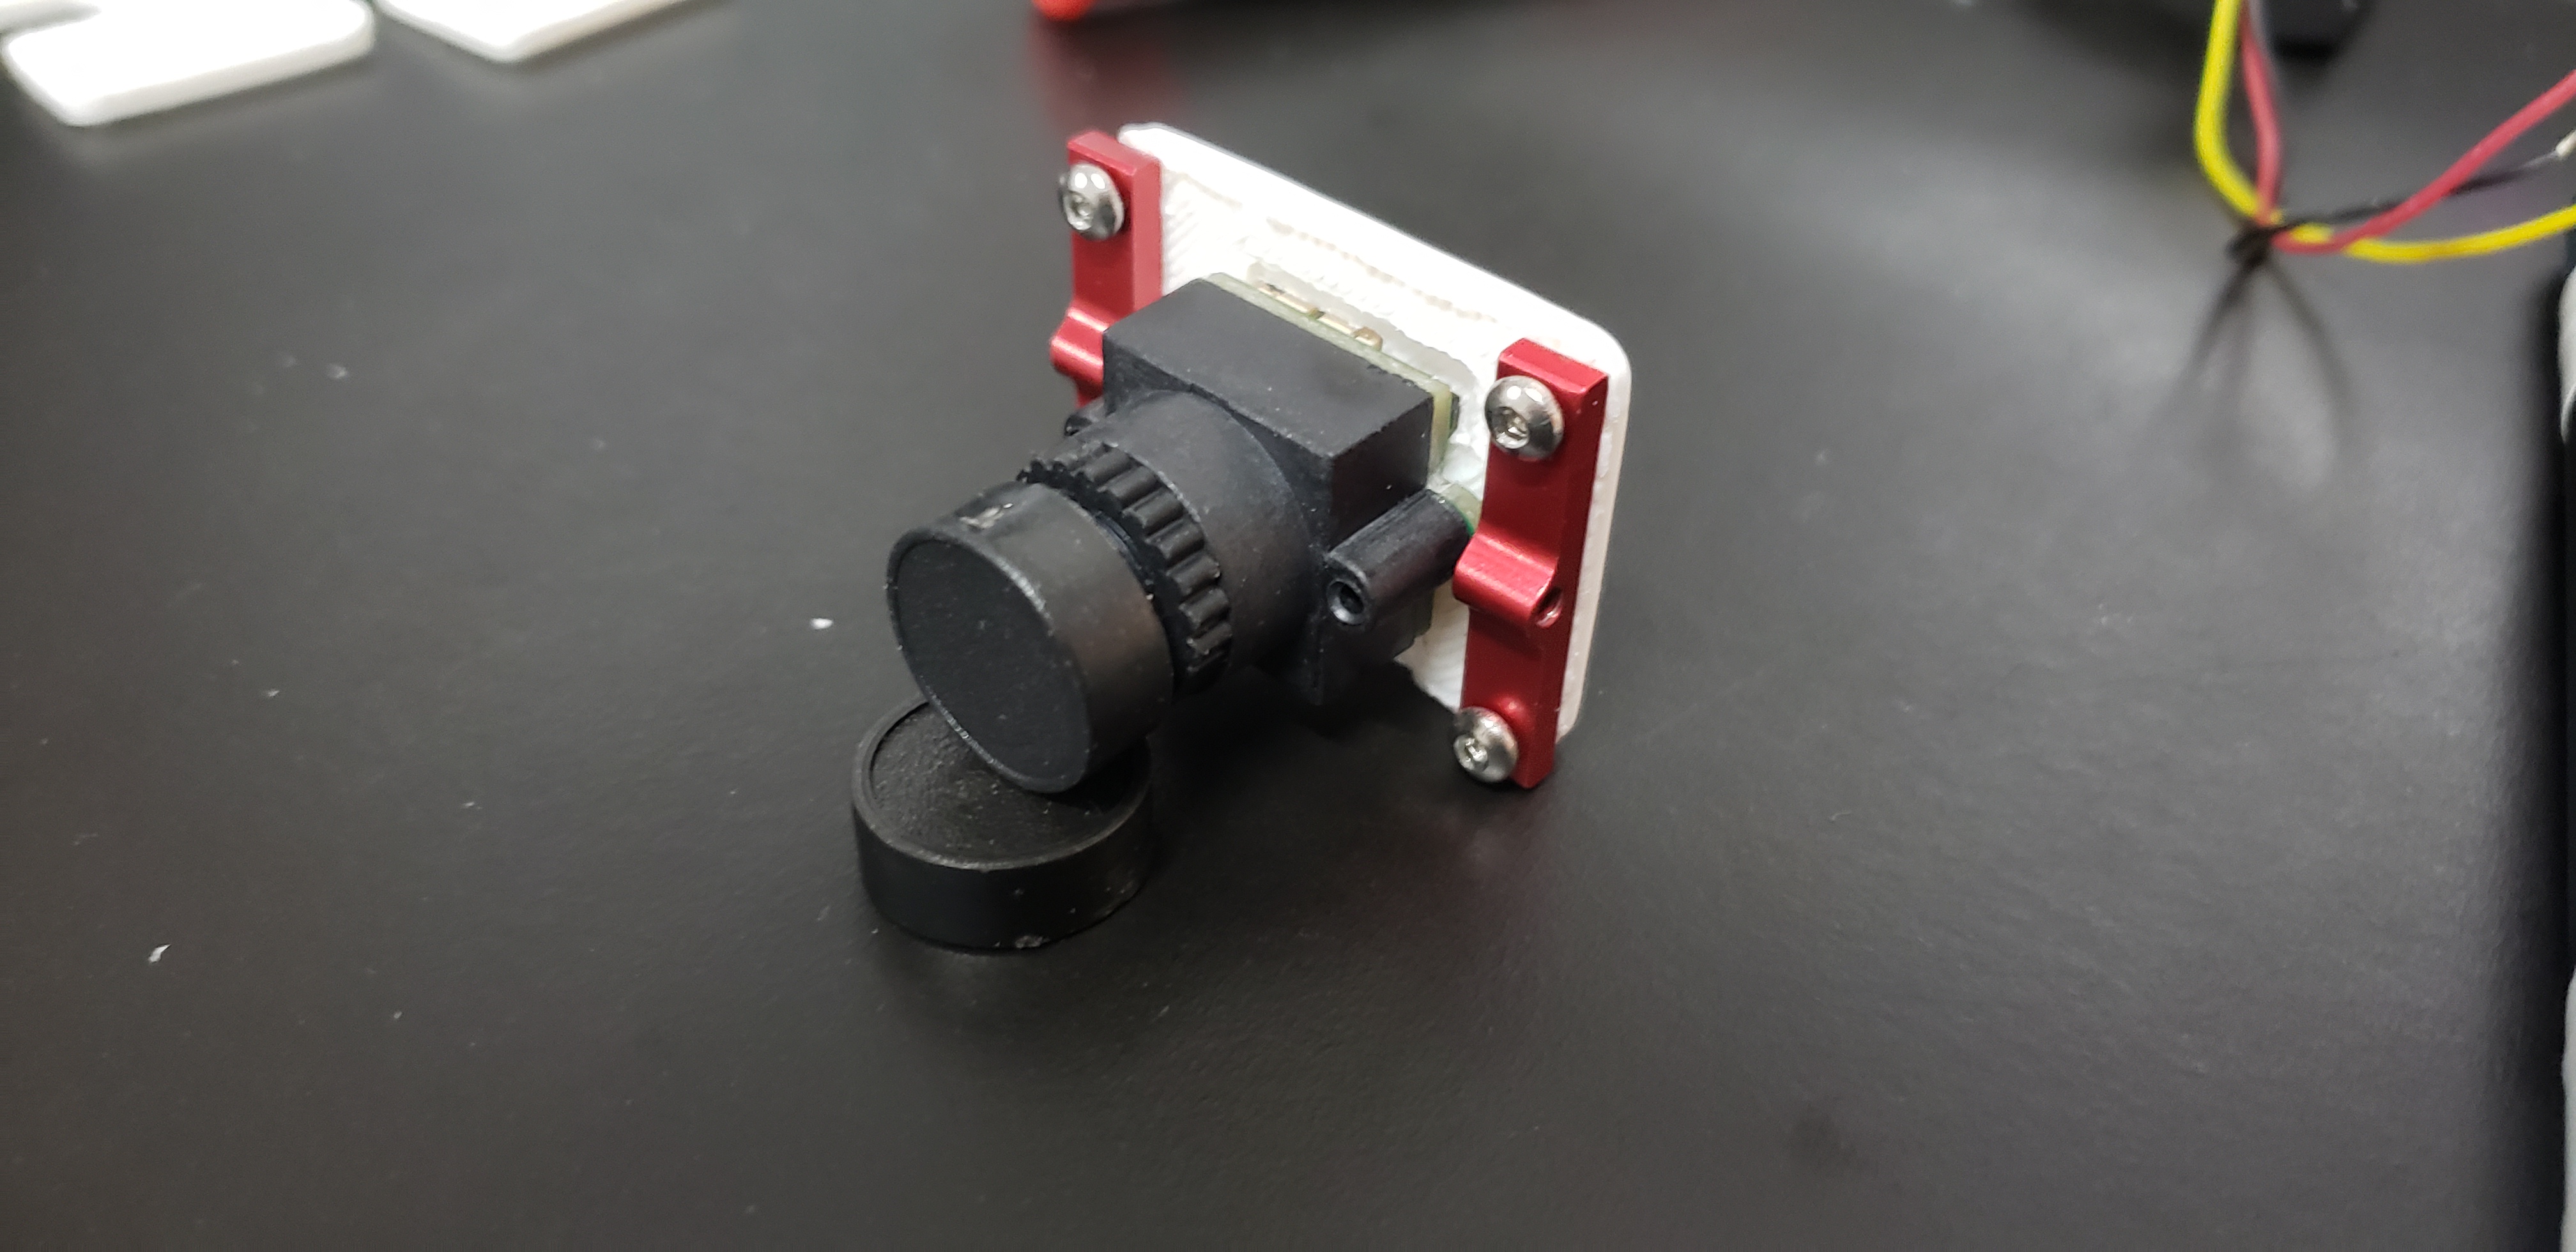
The camera was also a smaller one, so an adapter was needed that would fit into the front of the frame. The frame had a dedicated spot for the camera to be placed in, so it was easier to attach than the previous one I had.
The ESC’s were also damaged in my early days of soldering, so the new ones were needed to replace them. They also had better specifications and were more than enough for the motors I already had.
April 2021
With the components arrived, I rebuilt the drone from the ground up, re-routing my cabling to be more secure and only using what was necessary to remove bulk. One component I had issues with was the FPV communication between the camera, video transmitter, and FC. The camera feed was linked to the FC, where the FC would place some HUD onto it, which was then sent to the transmitter to be transmitted. After hours of resoldering and research, I found that a wire inside from the camera had a discontinuity in it and needed replacement.
After completing the assembly, I loaded up the FC firmware and tuned my settings to match the flight simulator I had been using to train. After a testflight in a nearby gravel field, some debris ended up inside the motors which had to be removed.
Most work on this quadcopter ended here because a second one that would be under 250g was being developed.
https://github.com/ViktorVektor/MiniQuadcopter